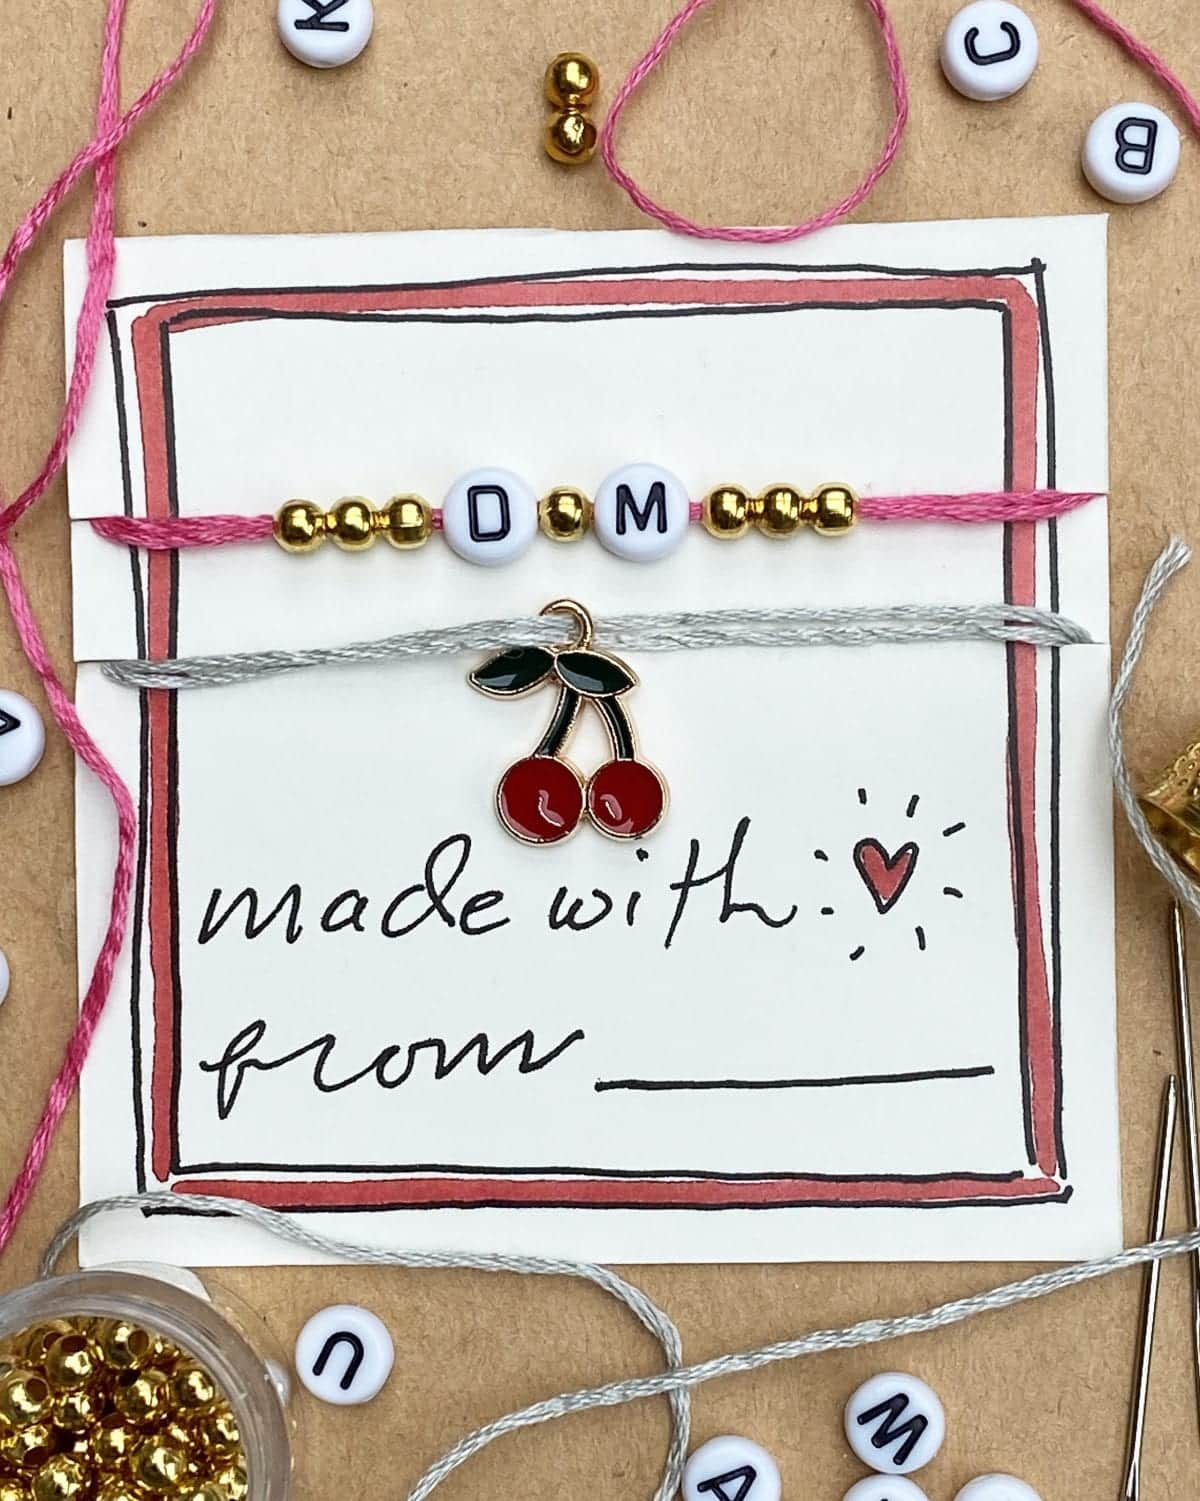
A summer camp staple, friendship bracelets are a great way to keep friends close, even when you are far apart. Tap into your creative side and make a special bracelet for yourself and for a friend—then present it on a cute card (which can also be used to store the bracelet when your pal isn’t wearing it).
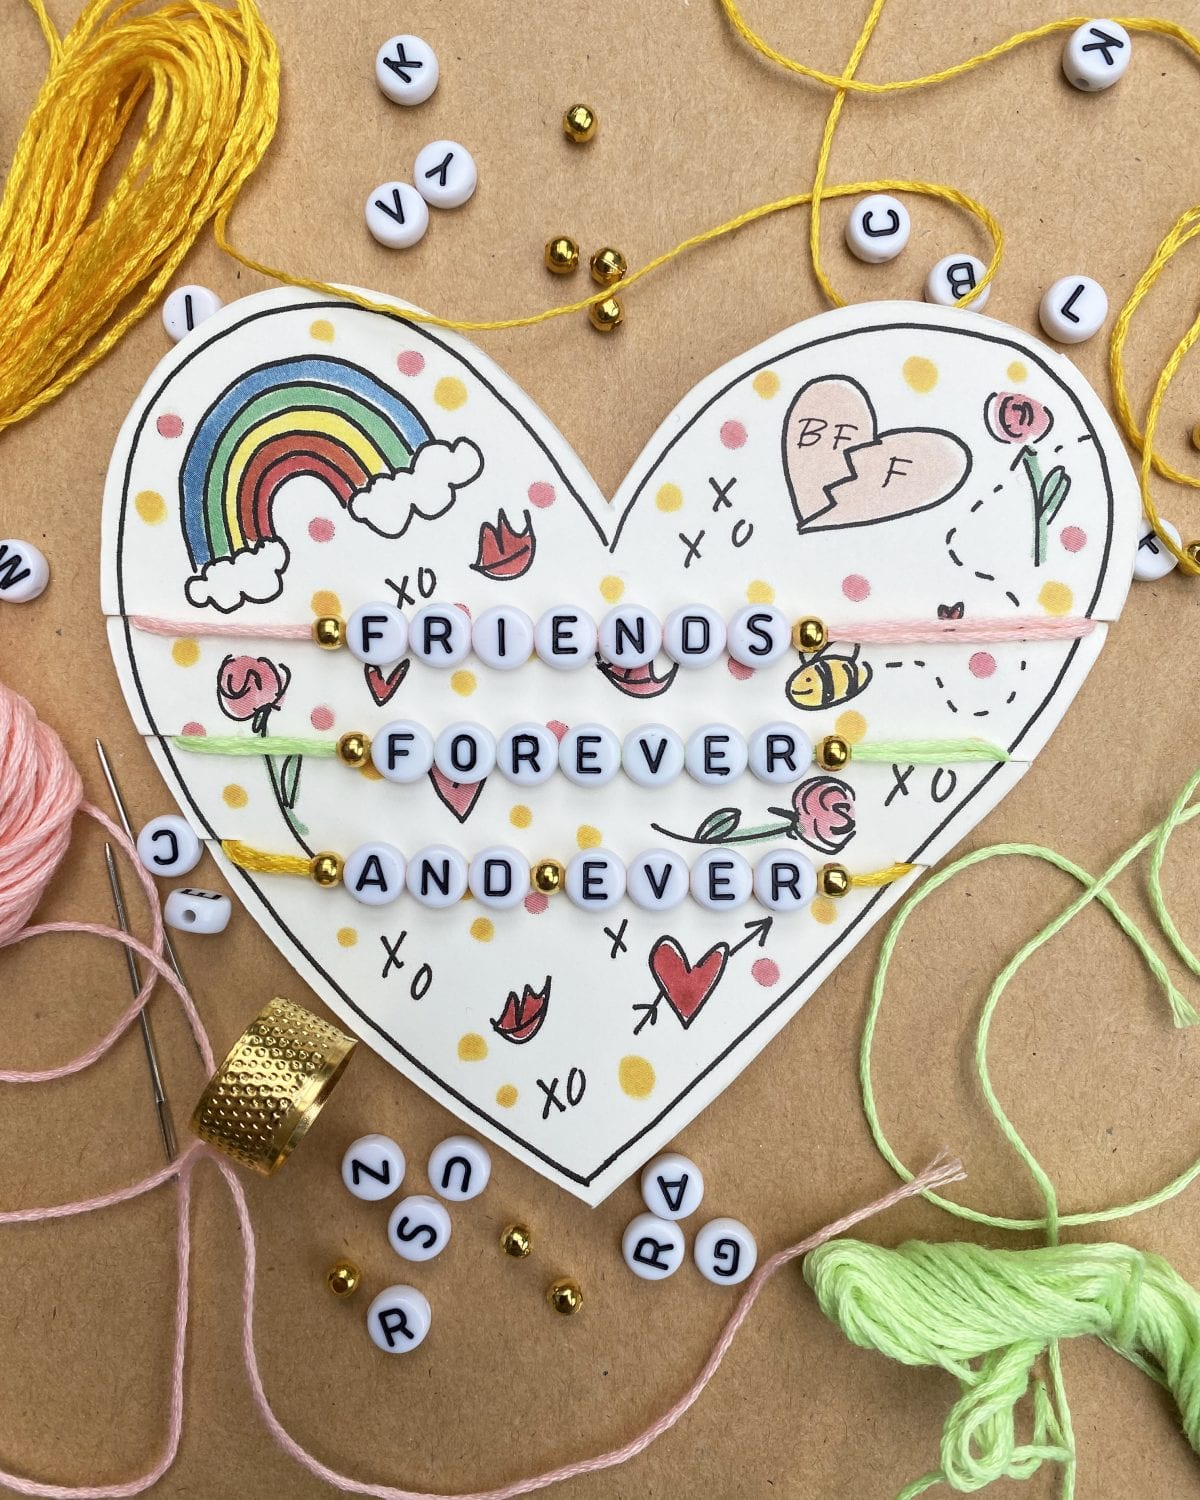
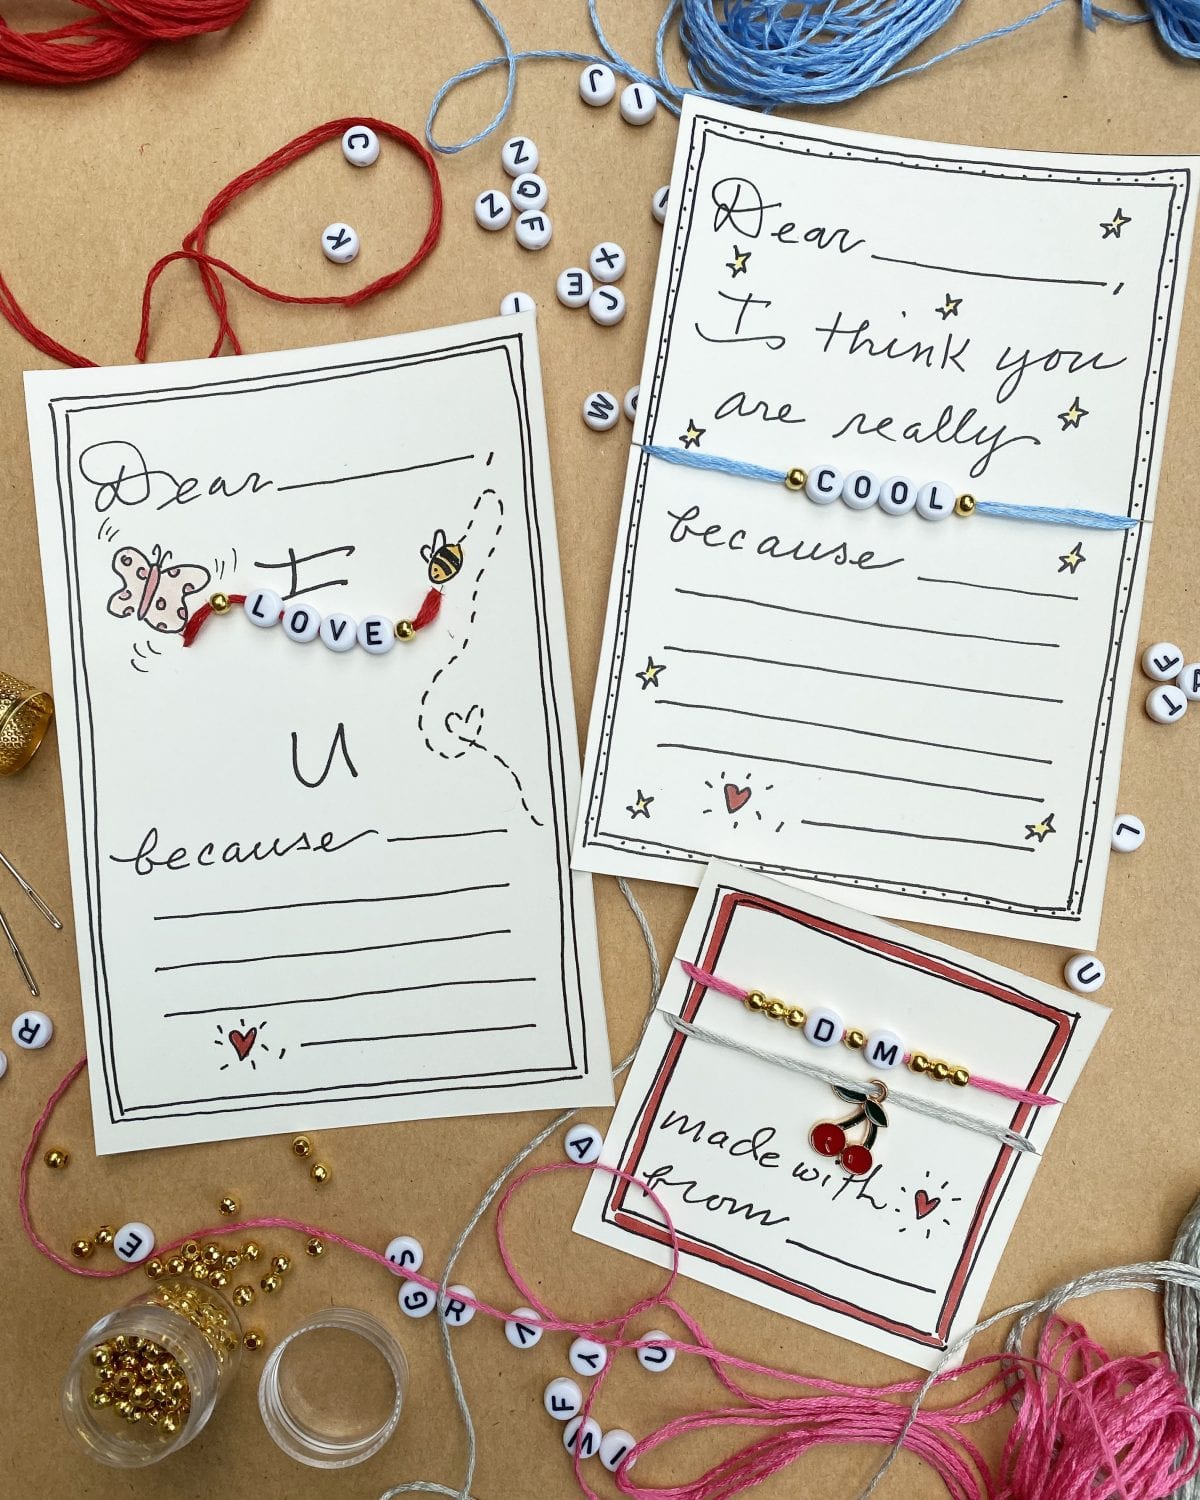
Simple string and bead designs can create special jewelry when alphabet beads are used to spell names, words, monograms, acronyms like BFF or LOL, words, and even sentences that you can split up to wear separately or together. But you don’t have to limit yourselves to string and letters; charms work too, strung on monofilament, cord, even gold chains, like in the set, here.
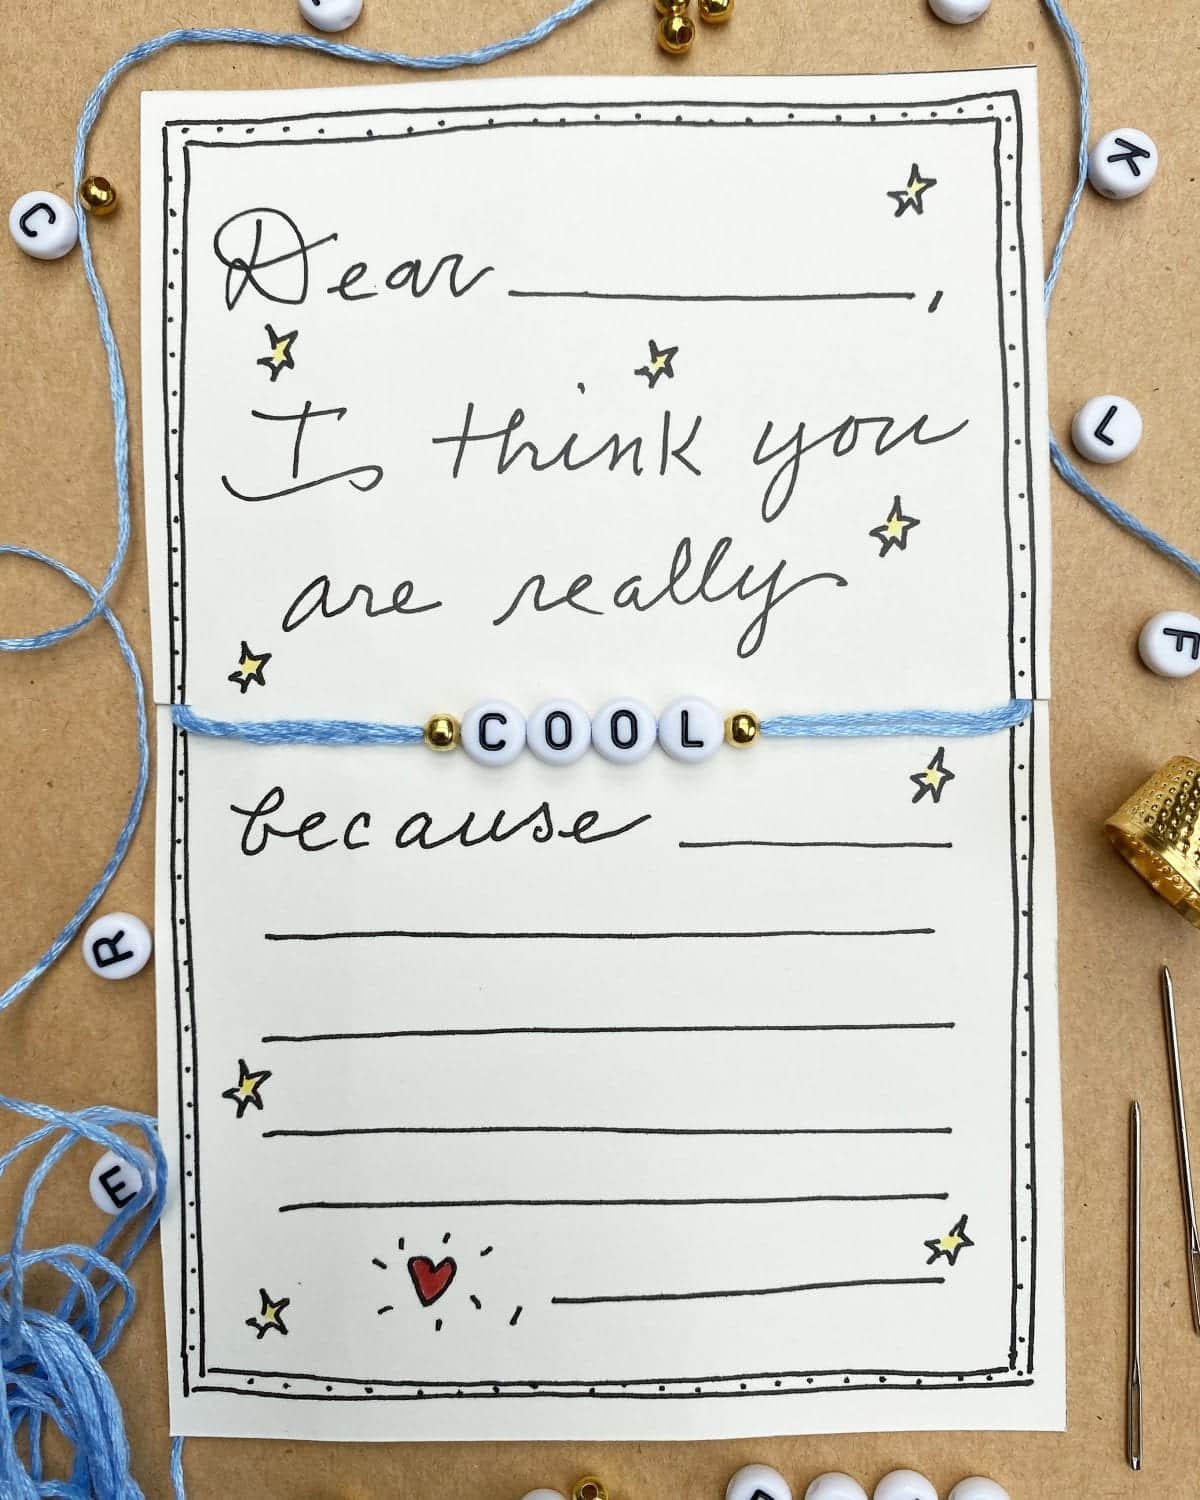
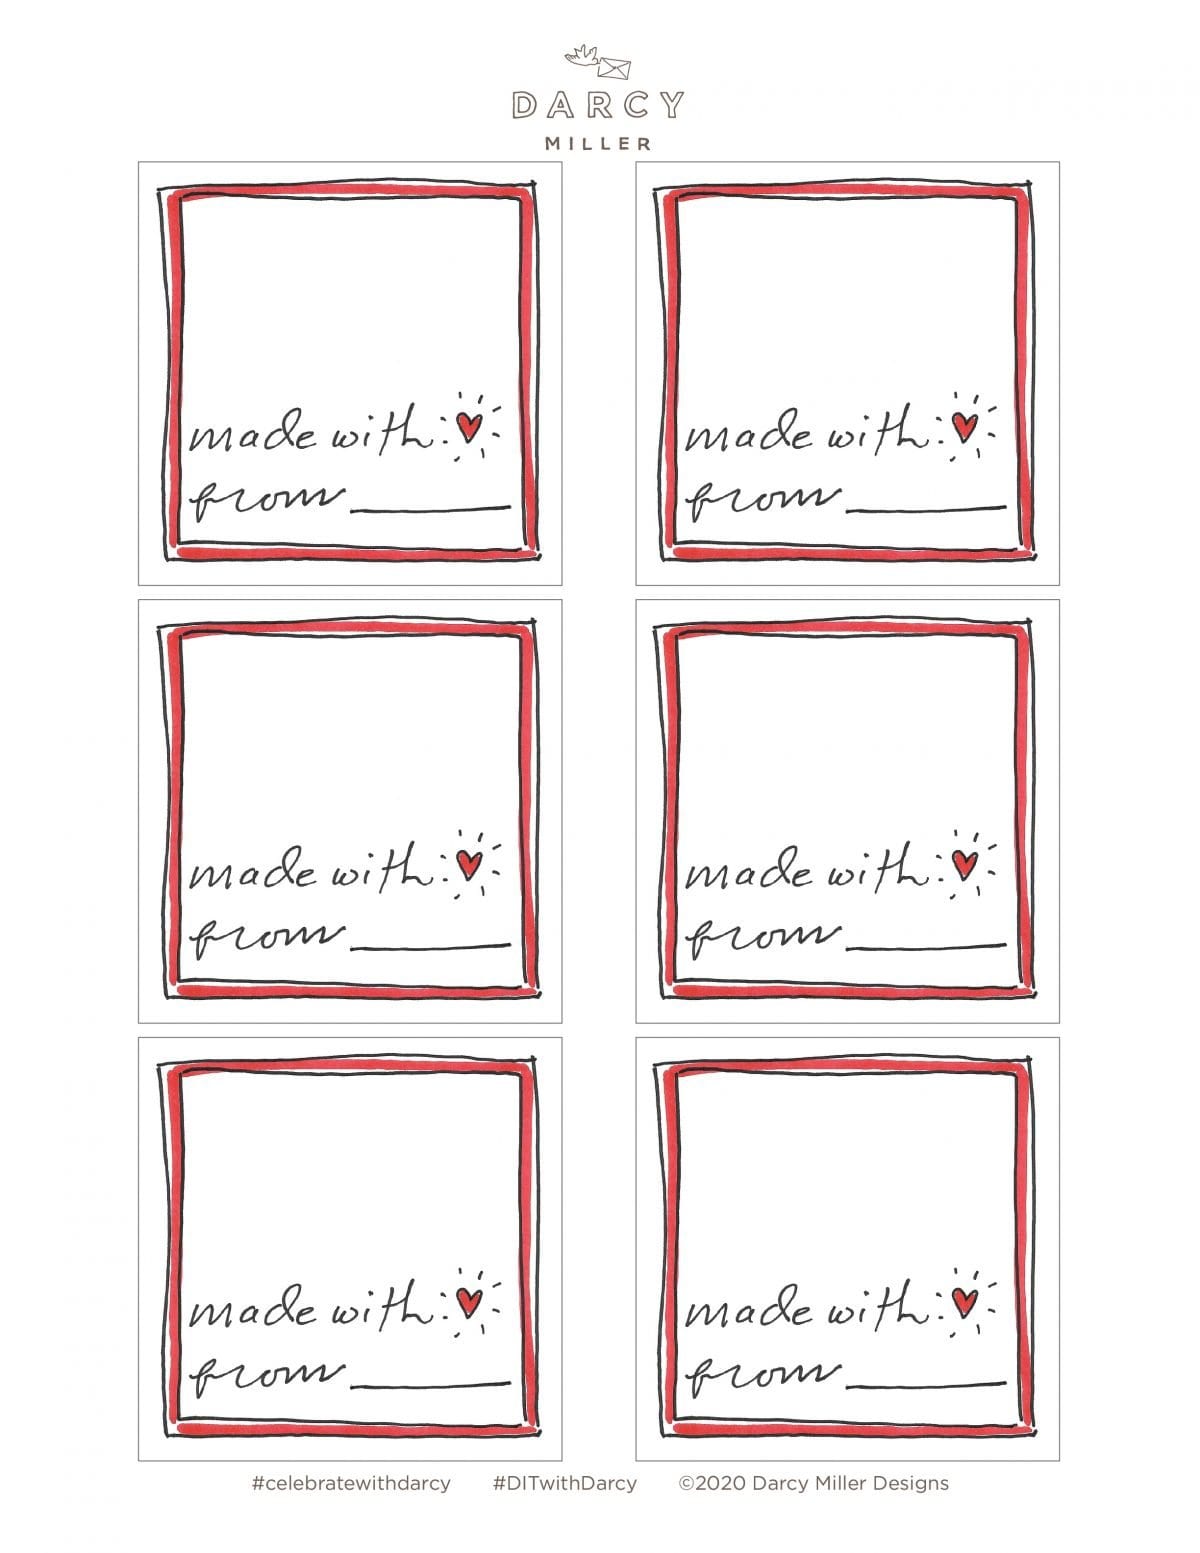
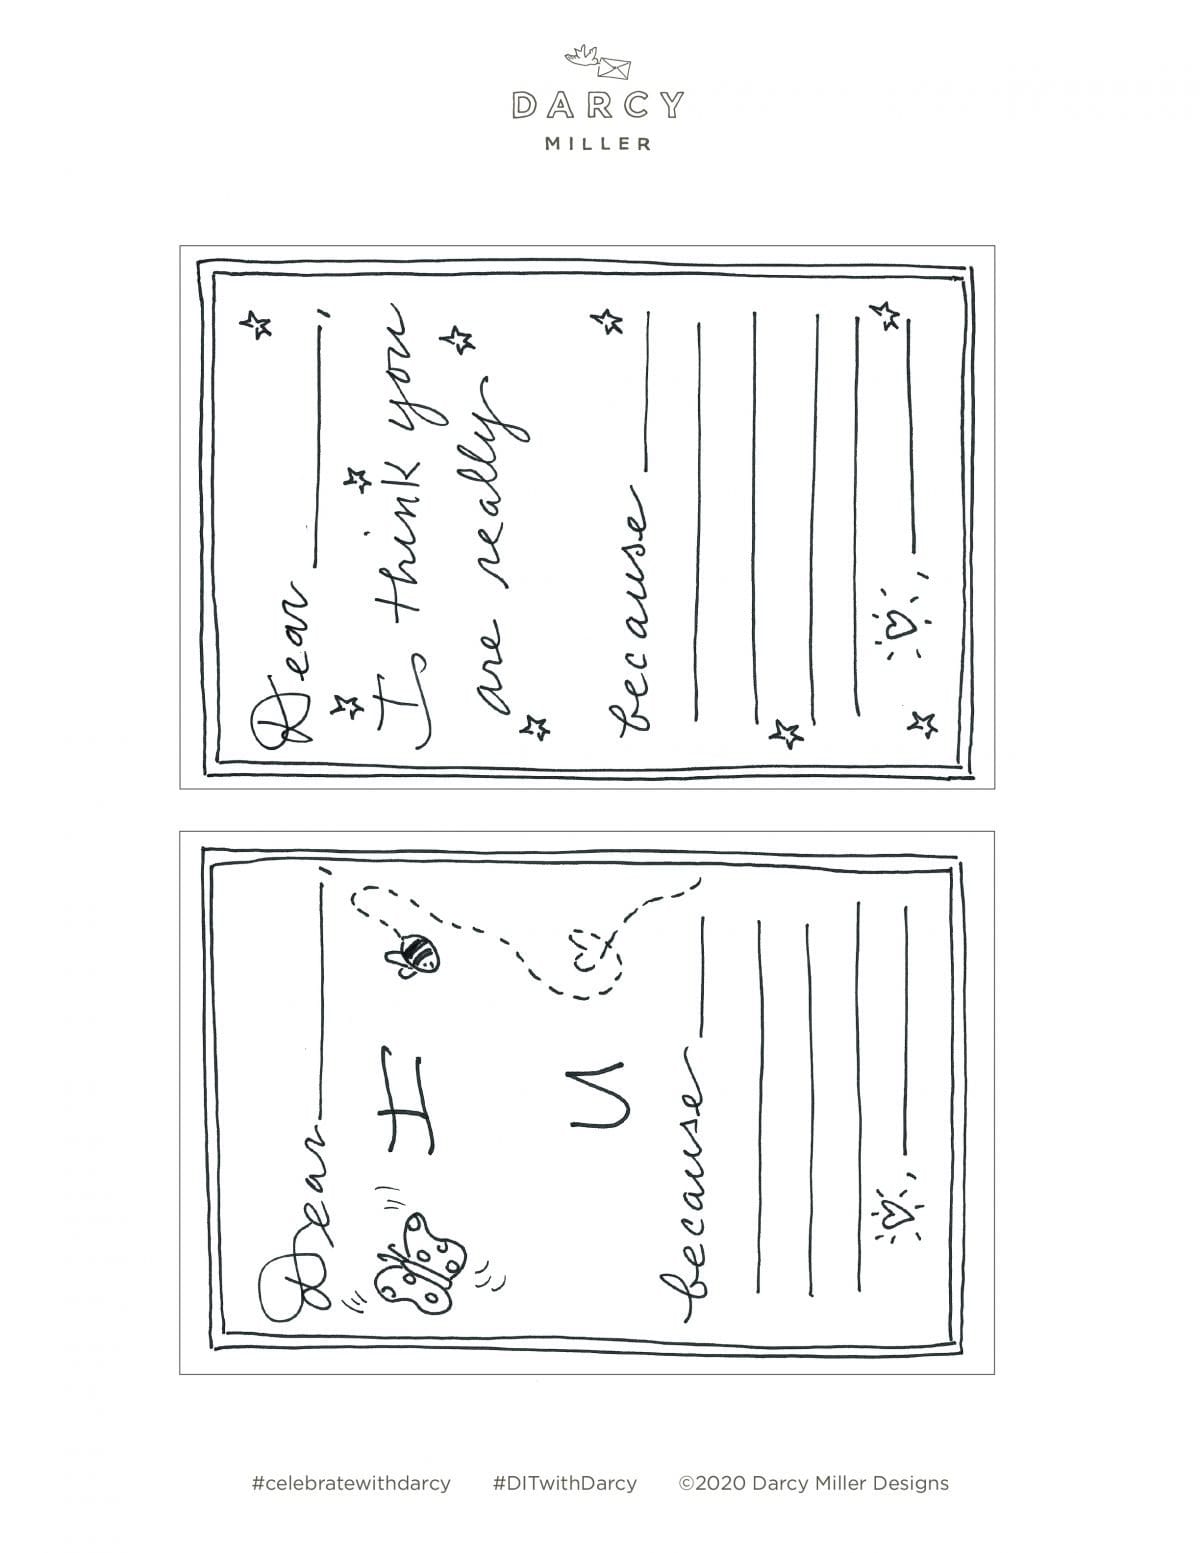
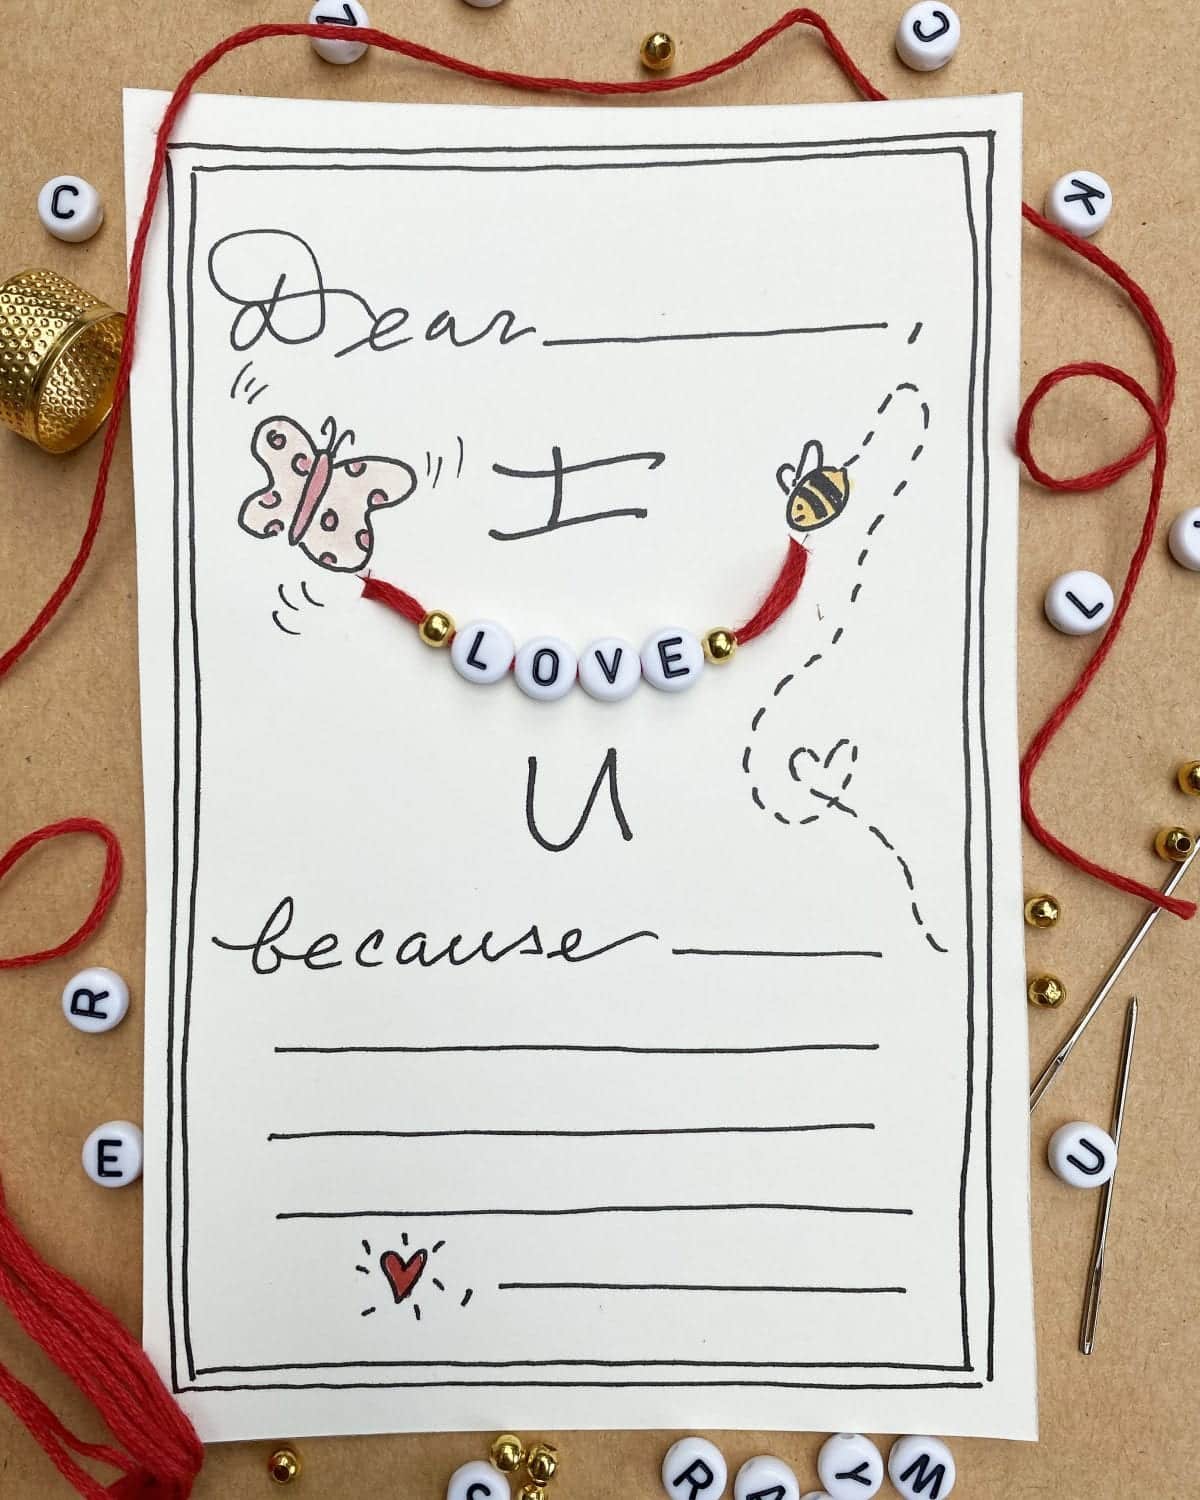
Write a word on your bracelet, then turn it into a sentence with our presentation cards, which you can download and personalize. It’s a great way to personalize the present even more.
What you need
For the bracelet:
For the card:
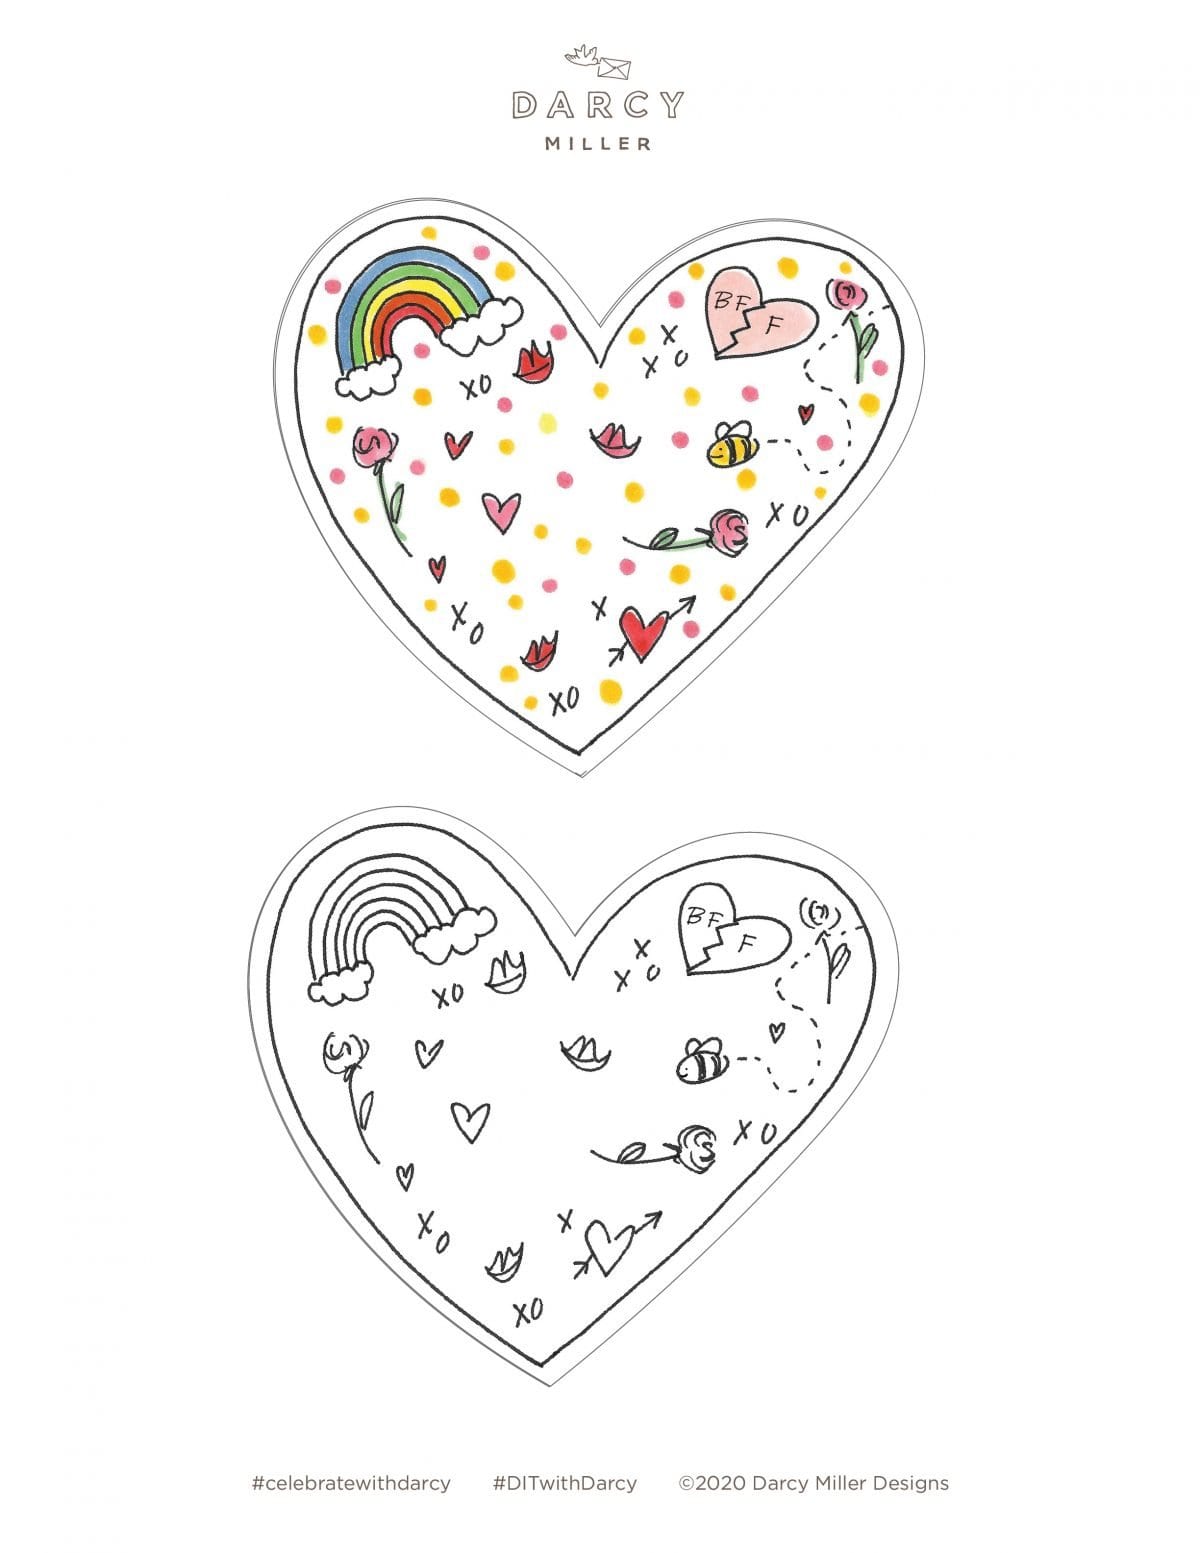
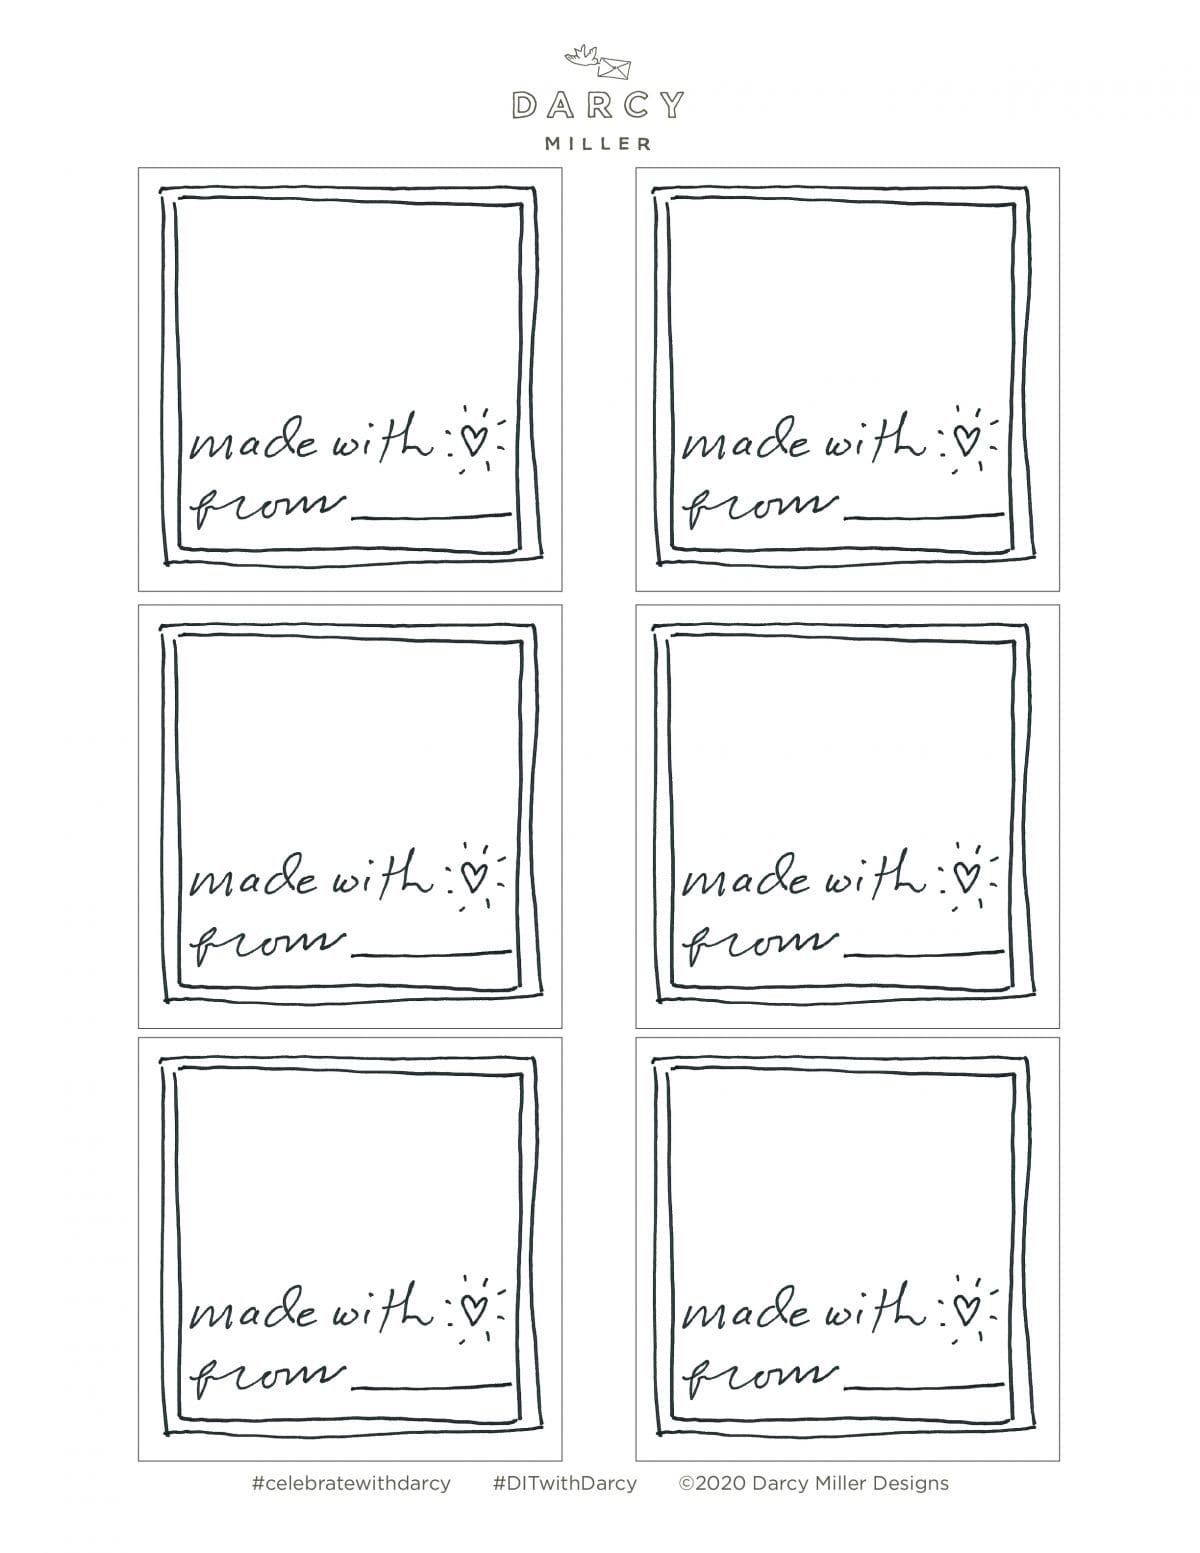
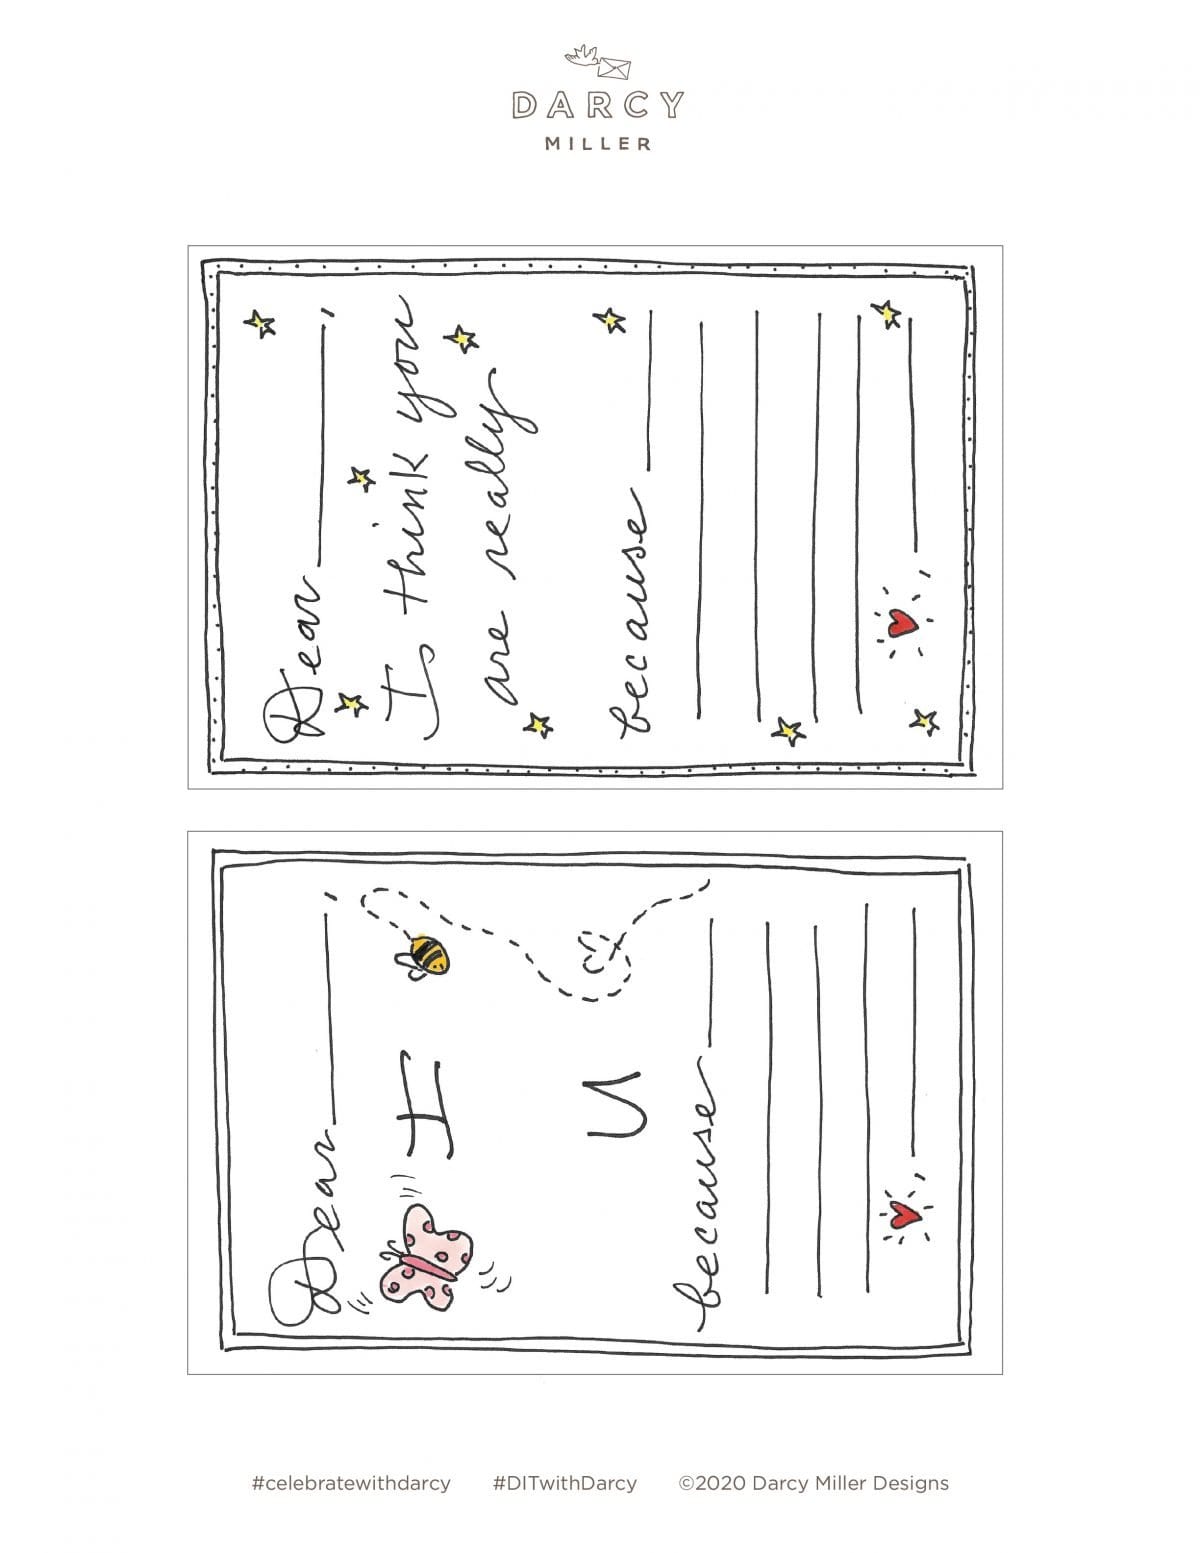
- Downloadable Darcy Miller card templates
- Cardstock or thick paper (white paper works best for colored templates; use any colored paper you like for the black and white versions)
- Scissors
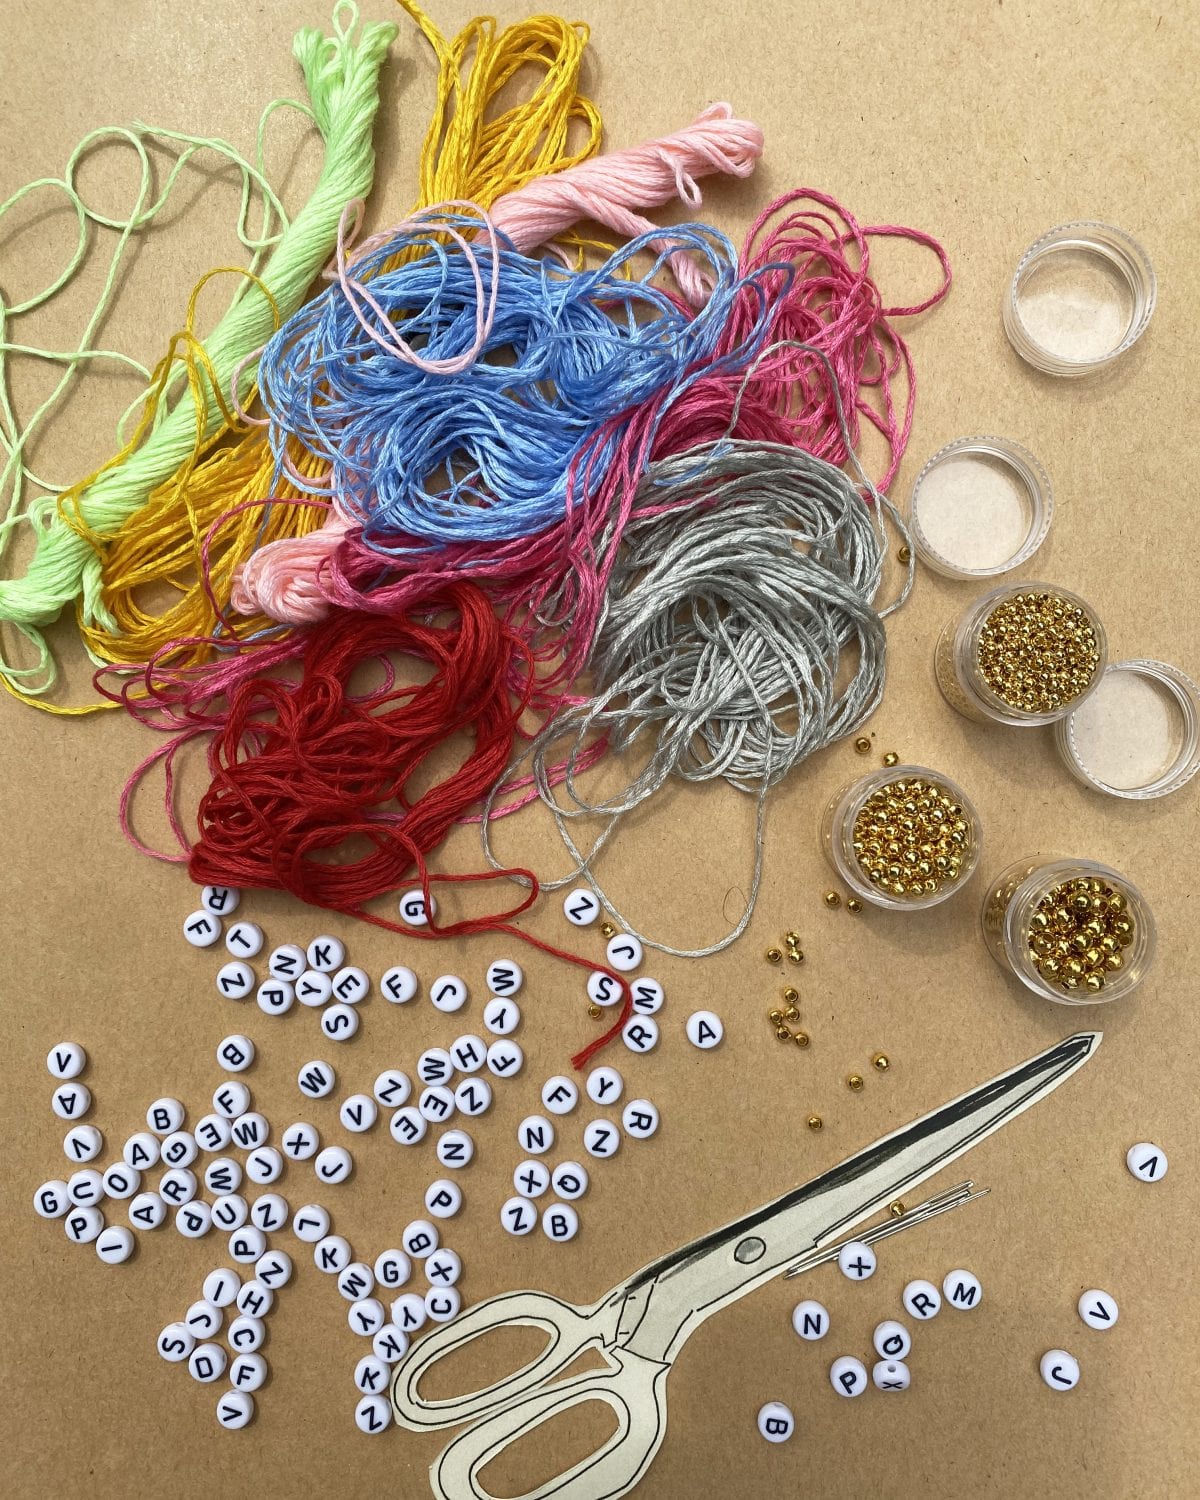
Step 1: Measure the desired length of thread you want, make sure to leave a little extra room to tie it on your wrist once it’s completed, double it if you want a double thread bracelet like these, then cut.
Step 2: Tie the looped end in a double knot to make sure it is secure, leaving the loose ends untied.
Step 3: Thread both loose ends through the needle, then slip on whatever beads you want; most of these started with a gold base bead, then letters in the correct order, then another gold bead to finish the word.
Step 4: When you’re done with the bracelet, remove the needle and tie the loose ends in double knot to secure
OPTIONAL
Step 5 Download Darcy Miller Designs Friendship Bracelet Card template, print, and cut out. You can choose our colored-in designs or black and white templates to color in yourself.
Step 6: Cut small slits on each side of the card where you want the bracelet to sit, or for the “I love you” card, punch, cut, or poke a hole underneath the butterfly and the bee.
Step 7: Nestle each end of the bracelet into the slit—or thread each end of the bracelet through the hole punch for the I Love You card—and tape loose ends to the back.