![]()
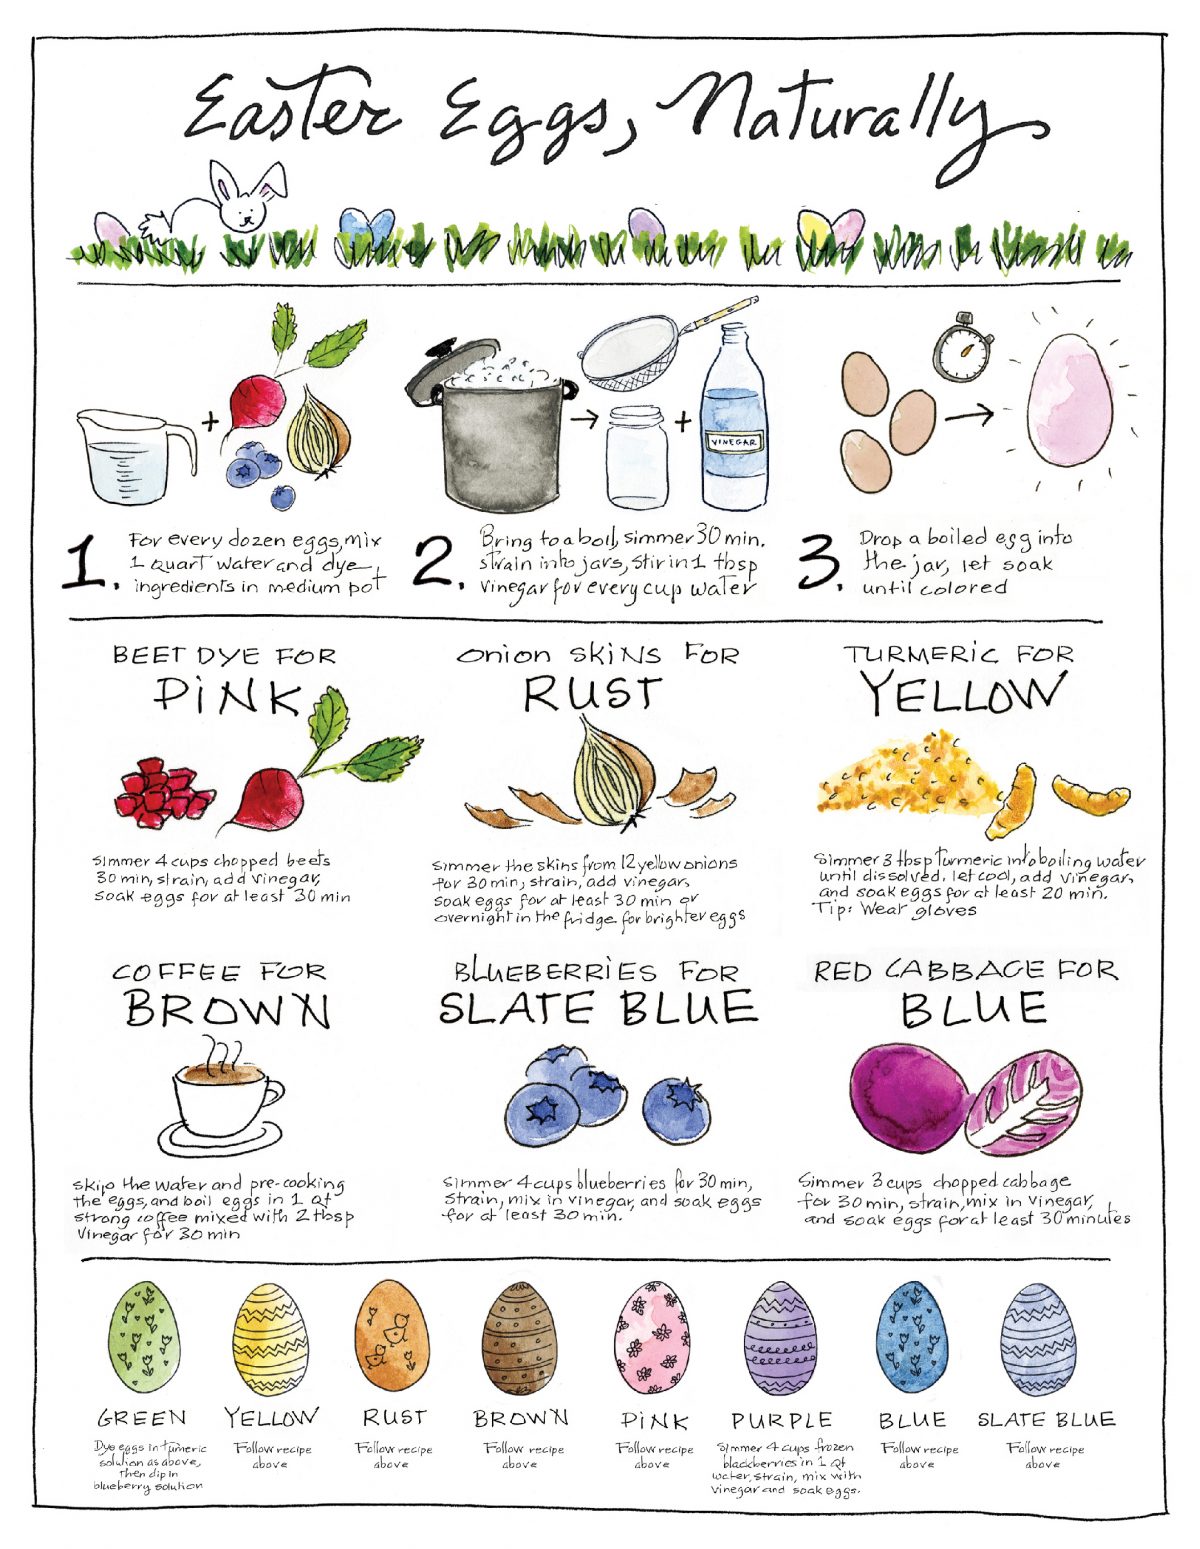
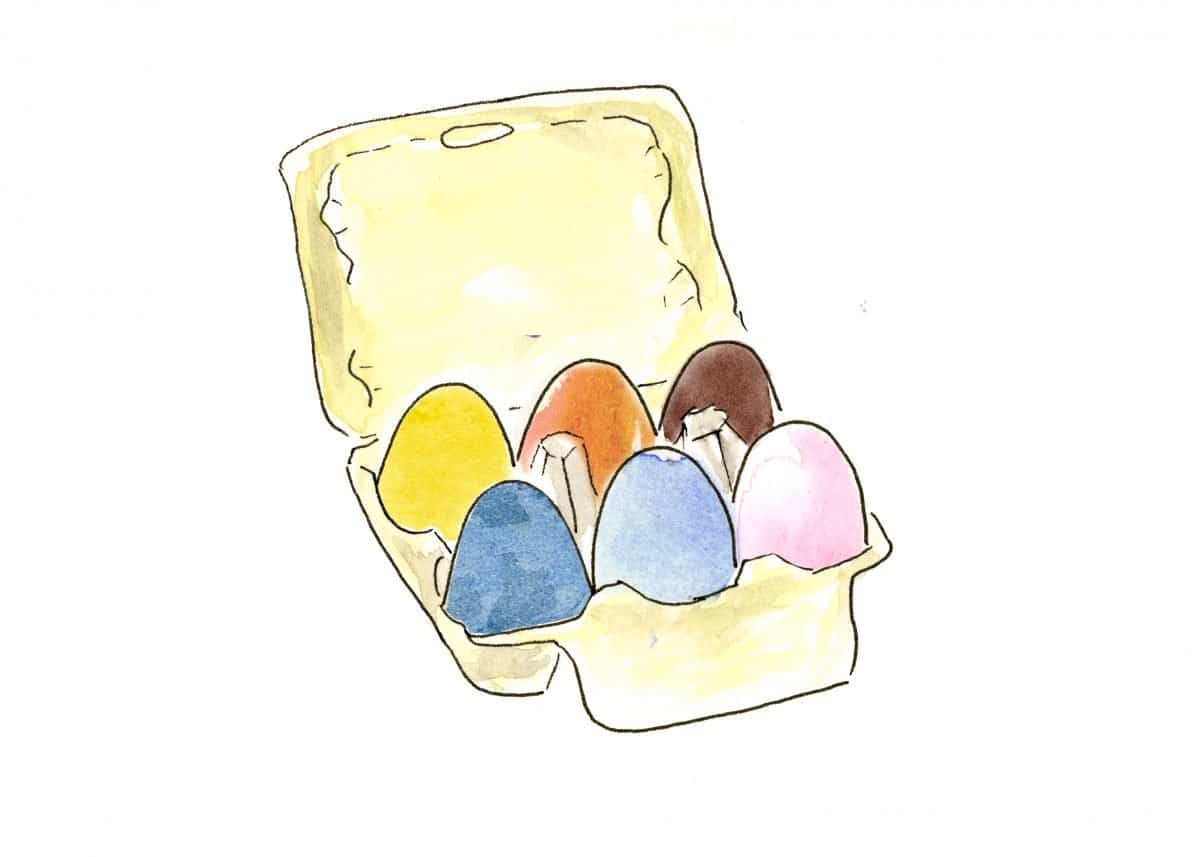
Ready to decorate Easter Eggs? You can create naturally dyed Easter eggs using items you already have at home! It’s a fun project to do with kids, using materials you have on hand. The results don’t just look amazing—since the dye is non-toxic and made from food, the eggs are edible, too. (For the recipes, see the template we created in partnership with Blue Sky Family farms in the how-to below.)
Once you’re done, you can group the eggs together as a centerpiece, use them in an egg hunt, or put one at each plate as placesetting decor—write a name on an egg with marker and it becomes a placecard, too!
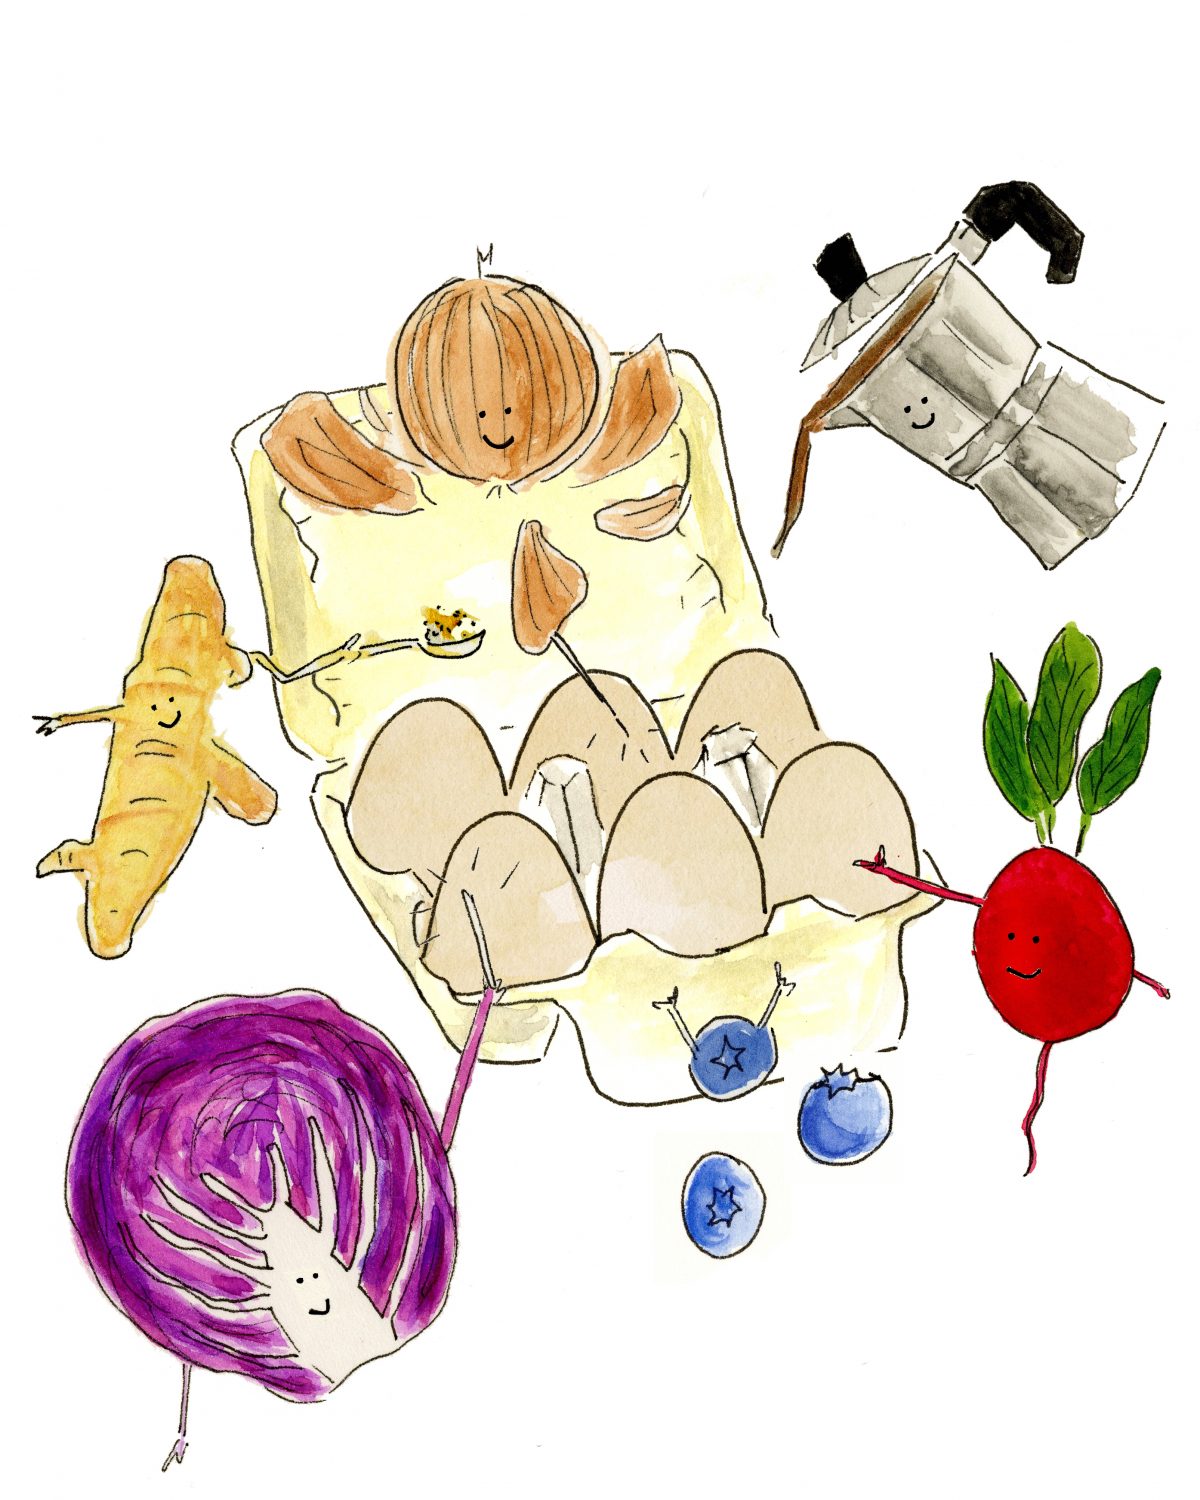
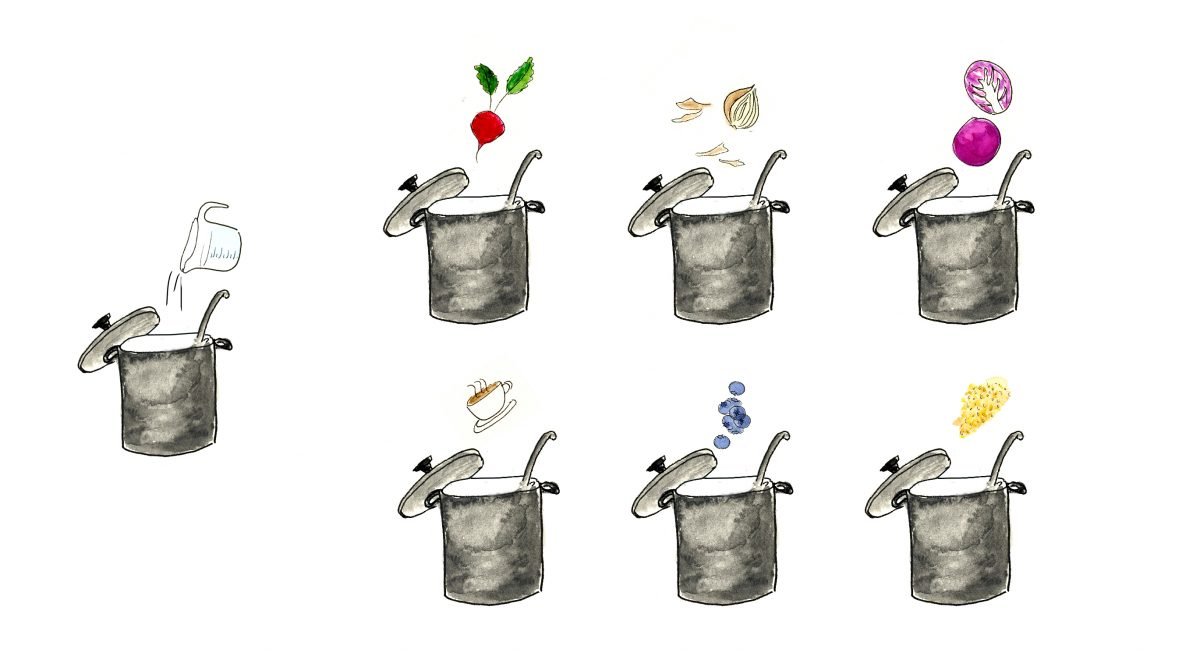
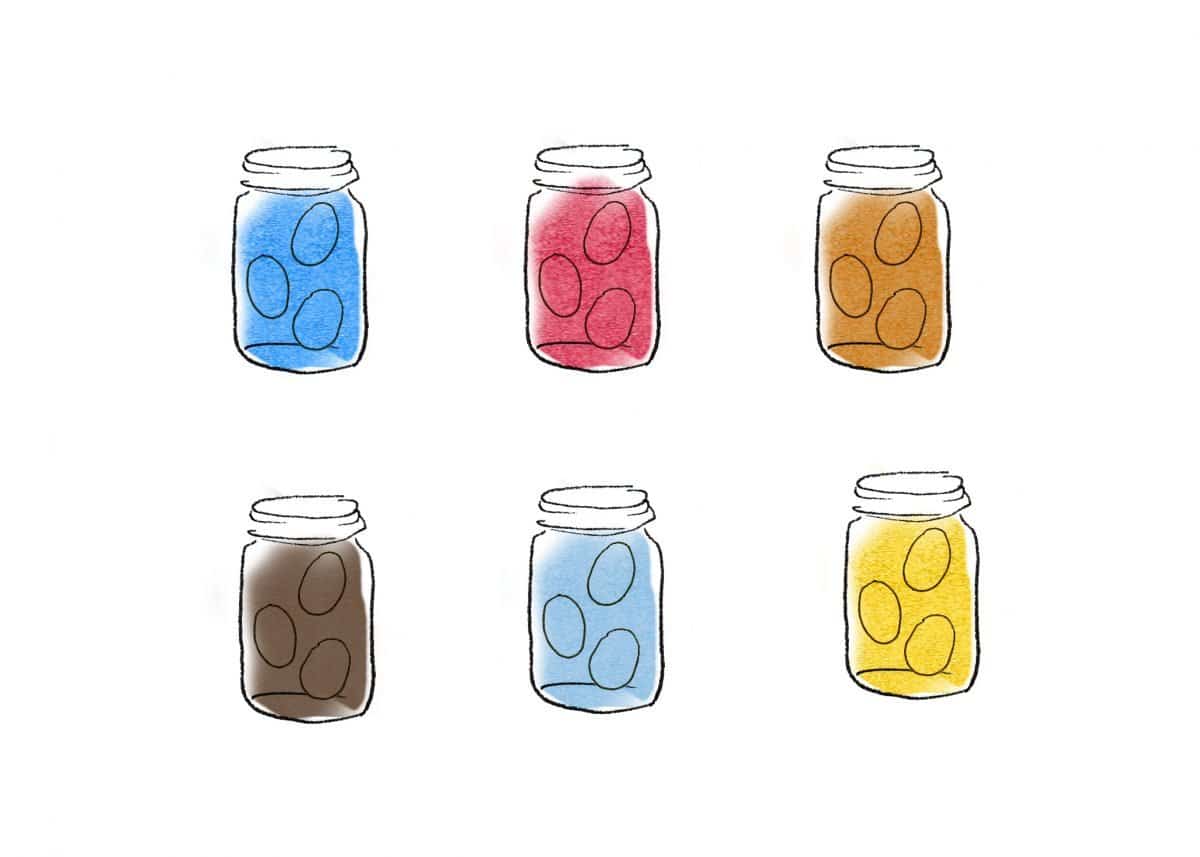
Some food and drinks you can use for dye are:
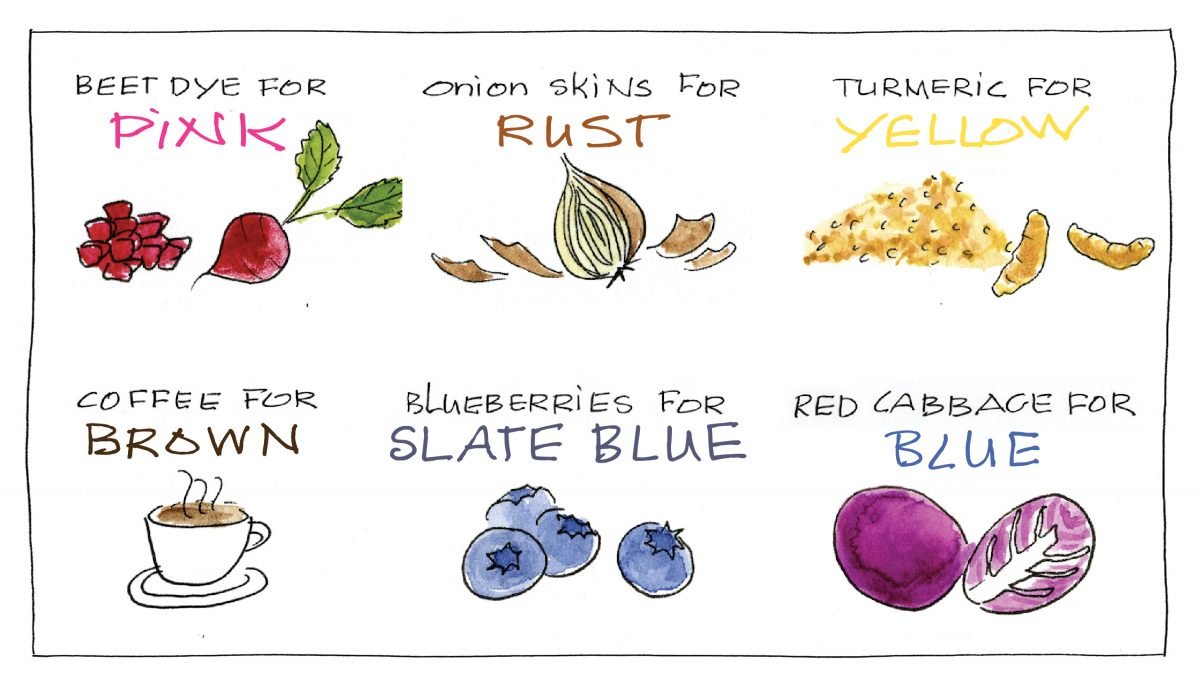
- 4 cups chopped beets for Pink
- 12 yellow onion skins for Rust
- 3 tbsp turmeric for Yellow
- 1 quart coffee for Blue
- 4 cups blueberries for Slate Blue
- 3 cups red cabbage for Blue
Those are just a few of the foods and drinks you can use to dye eggs naturally—look in your cabinets and use your imagination to create other colors. (Eggs boiled in red wine or a dye made from frozen blackberries turn a dark purple, for example, and purple grape juice with vinegar makes lavender dye!)
Egg Dyeing Tips
Darken your dye: Boil dye until it’s a shade darker than the color you want your eggs.
Time it right: The longer you let them soak, the darker or brighter the eggs will be.
Pop them in the fridge: If you’re soaking eggs for longer than an hour or so, place them in sealed jars in the fridge so that they stay edible.
Waste not, want not: When you’re done straining the solids out of the dye, you can use them in food preparation—toss the blueberry or blackberry pulp into a blender to make smoothies!
Play with egg colors, mixing up brown and white for different effects. A white egg in the beet solution will be a paler pink, for example.
Once you’ve decided on your colors, there are so many ways to be creative!
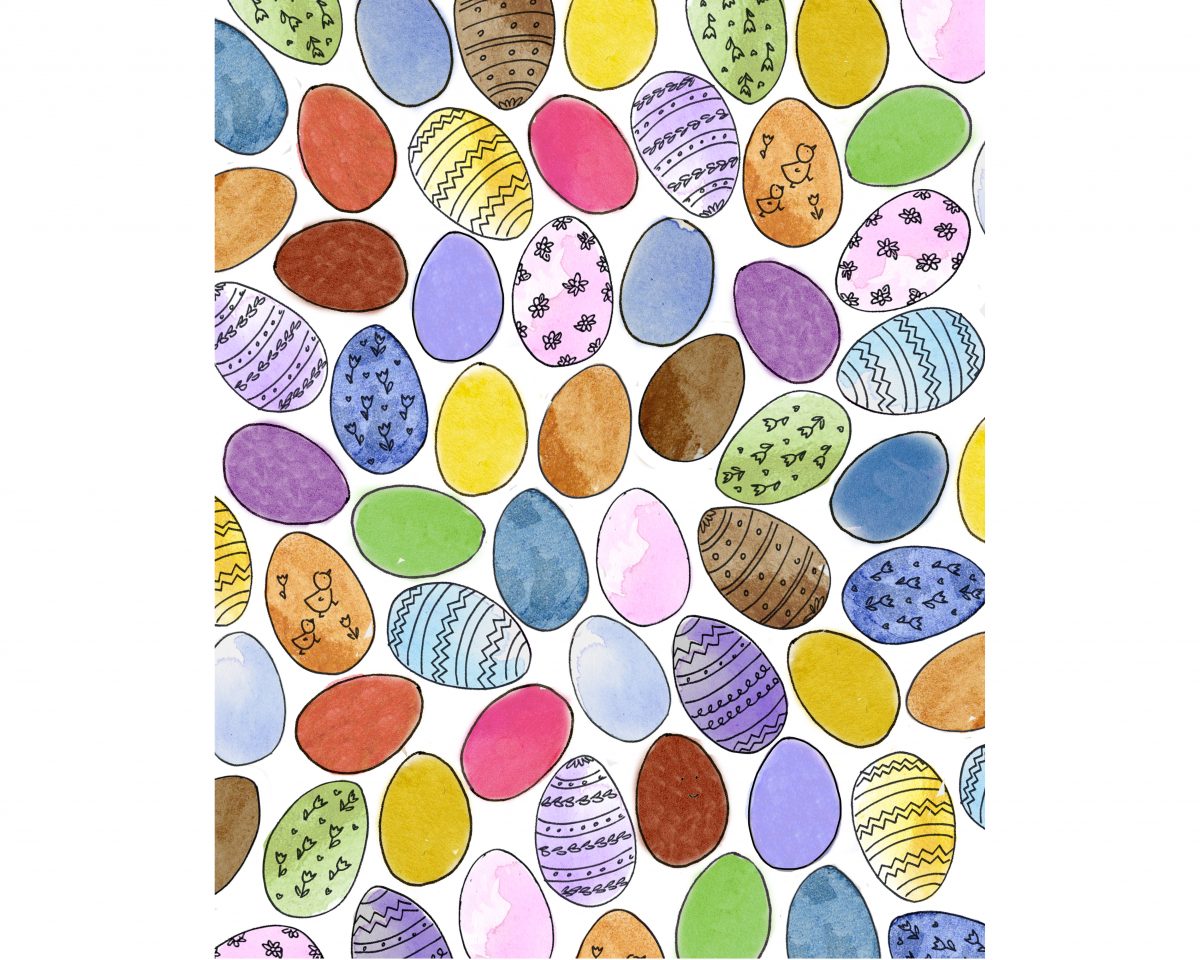
Egg Design Ideas
Play with shades: For darker or brighter colors, leave eggs in the dye longer
Draw some designs: Write on eggs with a natural beeswax crayon before dyeing. Once eggs are dry, rub off the wax to see the pattern that is left behind. (Tip: for this technique, only use cold dyes, as hot liquid will melt the wax.)
Stick to a pattern: Place a sticker on the egg before before dyeing, then peel off once it’s dry
Make some stripes: Place rubber bands around the egg before dyeing to create a banded stripe effect
Wrap it up: Rest a leaf or flower on an egg and wrap it with a piece of cheesecloth (or cut up pantyhose), tied in the back with a piece of dental floss. Dye eggs, then snip the tied end of the cloth and peel it off; rub away the leaf or flower to see the image it left behind.
Double dip: Dye an egg one color dye, then, once dry, soak it in another to create a third. (For example, use turmeric dye to make a yellow egg, then dip it in blueberry dye to turn the egg green.)
Whatever colors and patterns you create, the finished eggs are a feast for the eyes—and since they’re naturally dyed, you can go ahead and eat them, too!
What You’ll Need:
- 1 quart water
- White vinegar
- Strainer
- Mason jars or other containers
- Hard boiled eggs
- Natural dye ingredients from above
How-To
Step 1: In a medium pot, stir food (or drink) into 1 quart of water,
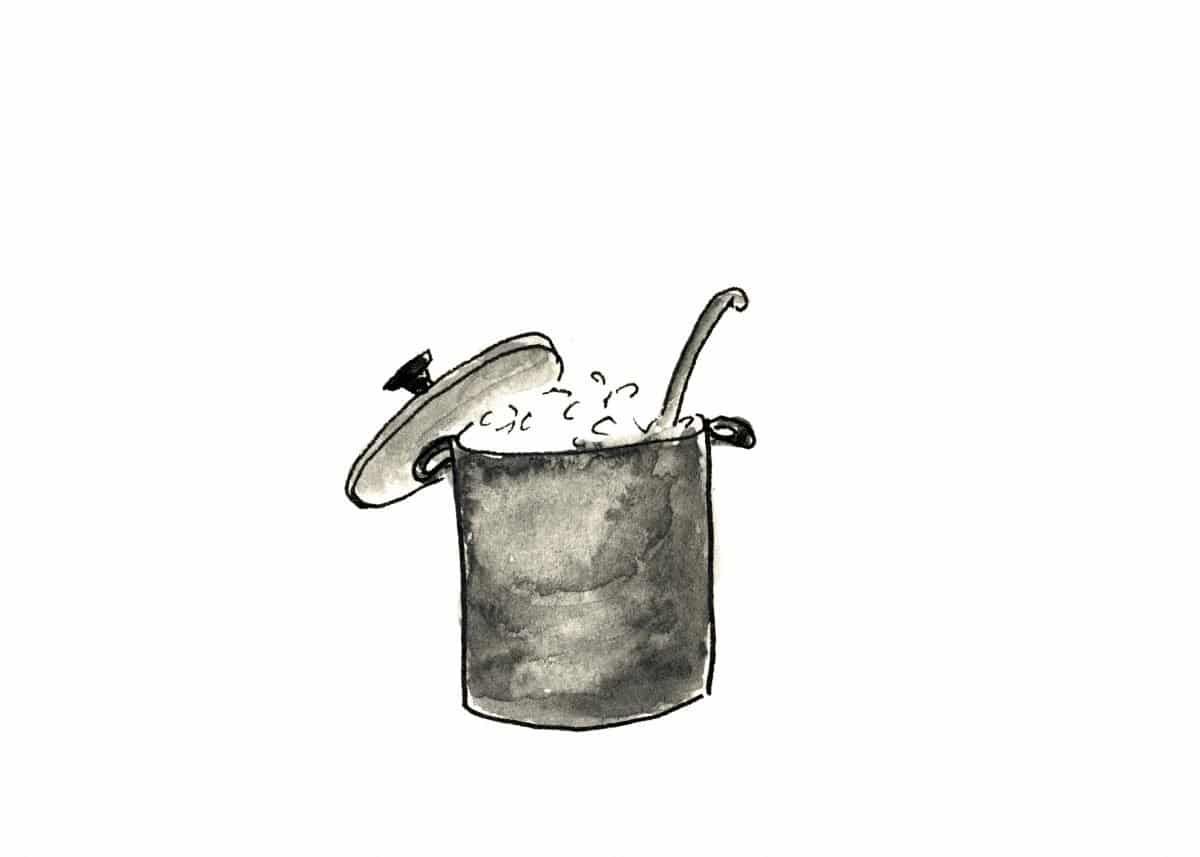
Step 2: Bring to a boil, reduce heat, and let simmer for 30 minutes.
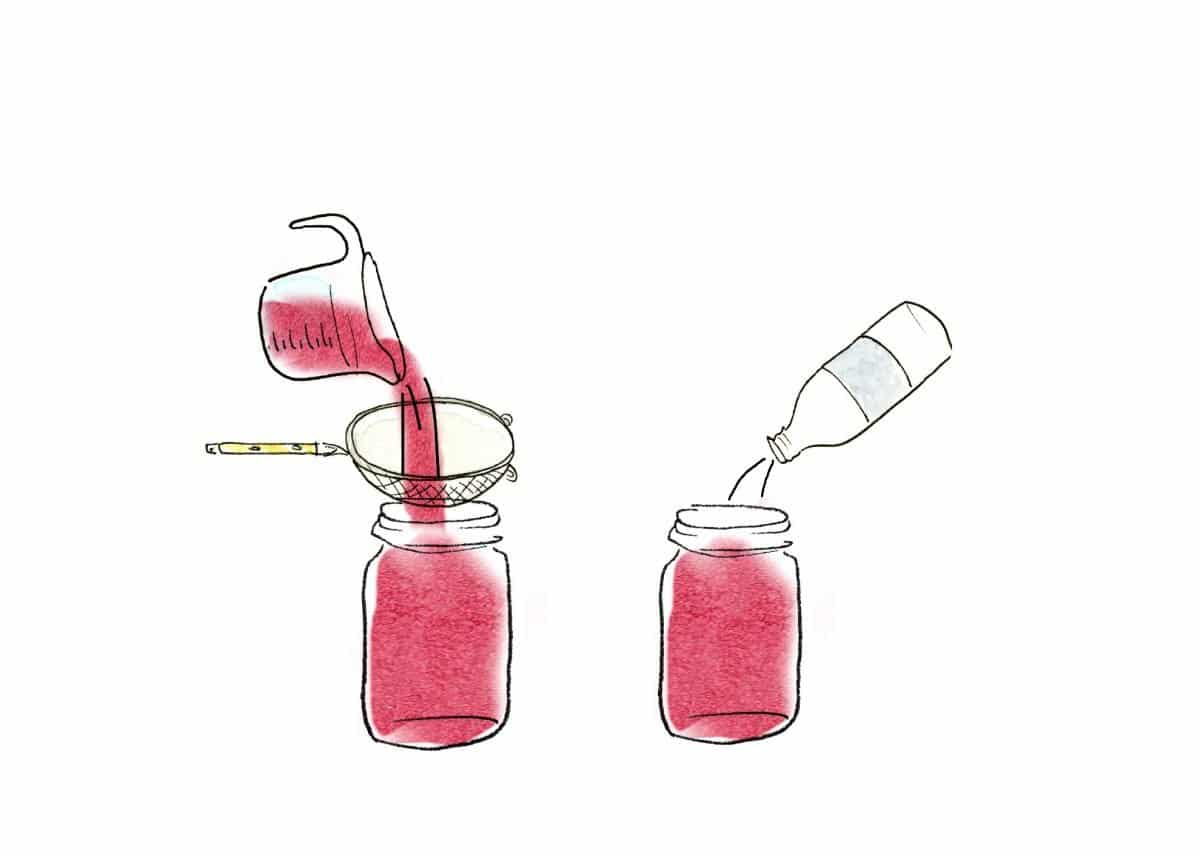
Step 3: Pour dye through a strainer into jars, bowls, or other containers, then mix liquid with 1 tbsp of white vinegar for every cup of liquid the container holds.
Step 4: Drop boiled eggs into the vinegar-and-dye mixture and let soak for at least 30 minutes—the longer the eggs soak, the darker the color will be.
Step 5: Once eggs have dried, soak a paper towel in cooking oil, then rub the shell to shine it up!
Printable Cheat Sheet
Here’s a downloadable cheat sheet so you can print out the recipes: